Hi!!! It's Angela here, Guest Designer. Thank you to all the girls for asking me to share with you today! :)
I've been experimenting with fabric recently, and trying to incorporate it in some of my mixed media projects, so I am going to share a wall hanging that I made which includes some mixed media elements.
As usual when you have a baby, you have lots of little things sitting around the house, that you want to keep to remember how tiny your little one was once upon a time. I wanted to make something that I could have on display, instead of hidden away in a box, and so I decided on this wall hanging.

Here are some of the materials I used to make this:

Fabric Dye (Blue),LooseWeave, Muslin,Golden Gel Medium,Photocopied Images,Wire 18 gauge, assortment of beads,Coloured threads, organza,Heidi Swapp Ghost, StarButtons,Bamboo cane, Ribbon
I dyed the silk with the blue fabric dye following the manufacturers instructions. Cut the felt to the required size for the wall hanging and then covered the felt with the blue silk. I then randomly stitched into this and added beads to the edges. This is quite time consuming, but easy to do in front of the telly!

I cut out 3 pieces of silk to make the tabs for the top, and mounted them on top of felt for stability, and attached them, placing a button on the 2 outside tabs.
For the embellishments, using Photoshop, I changed 2 images of DS to black and white, printed them off and then photocopied them. I also took a photo of DS's first baby gro and blanket, changed them to black and white in photoshop and used the stamp tool to make it into an outlined image. I then chose part of the image of his blanket and baby gro which had little characters on it, and printed those out. These were also photocopied.
Now to transfer them onto the muslin.

I covered the photocopied images with Golden Gel Medium (just over the image, careful not to get it on the back of the paper), and then added more Gel Medium to the Muslin. The images were then placed face down onto the muslin, burnished lightly on the back and left to dry overnight. I then took a bowl of water and immersed the muslin, so that the water seeps through the back of the paper that is attached.
Carefully rub the paper off - this can be quite time consuming. Leave the image to dry. You might find that once it is dry that there are still traces of the paper attached, simply wet this again and rub more. Once the image is dry you will see that the image is transparent, so you can use it whatever way around you prefer. I used it so that you were looking through the muslin at the image as it gave a softer appearance that suited the wallhanging.

I then embellished these with twisted wire and random beads.

I also encased one of DS's little socks between a layer of felt and some purple organza. I embellished this with random stitches in silver thread.

For the final embellishment, I cut up one of his bibs and used this to back a Heidi Swapp Ghost star, which also had purple organza behind it. I then embellished this with silver thread and more beads.

All of these were sewn in place and then a bamboo cane cut to size and put through the tabs at the top. Finally a ribbon attached to the bamboo cane to hang it from the wall.

Working with fabric really is a lot of fun, and it feels lovely to work with. I only used very simple stitches (which I learnt at school!) and did it all by hand, so you do not have to have any special equipment to work with - anyone can give it a go. Many of the techniques we use with paper crafting can be applied to fabric, painting, embossing powder, stamping... give it a go:)~Angela~
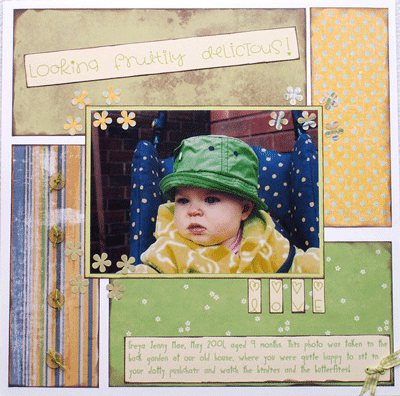 In this photo, as you can see, there is a mix of blue, yellow and green, in addition to the pink baby ;), and I felt that the best way to bring out these colours, without losing the photo, was to use a combination of patterned papers in a simple design so that the photo took centre stage, and the colours in the paper complemented the colours in the photo.
I sometimes find that I have photos I really want to scrap, and no papers that immediately stand out as being a good match; in these cases, I like to use black and white papers, with embellishments that tone with the colours in the photograph, as with this layout:
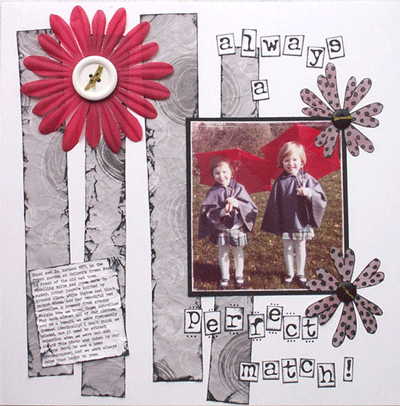 This photo of my sister and I in our matching 70's kilts and capes, with bright red umbrellas, didn't lend itself to the use of highly patterned or very vivid papers, so I used the Blonde Moments black, white and grey papers, and matched my large blossom with the umbrellas.
Sometimes, I have a particular patterned paper line that I'm desperate to use because it's so pretty that I want to paper my bedroom walls with it, but I don't have any photos that will really 'go' - in this case, a simple solution is to find a photo you like that you're happy to convert to black and white (I use Photoshop, but I think there are various programs that will do this) and, hey presto, you can use pretty much any patterned paper you like!
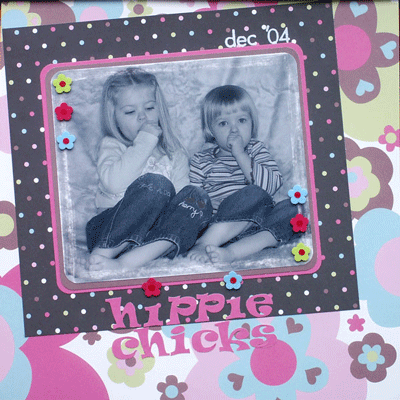 This photo of my daughters was very 'busy' as they were both wearing brightly coloured (though not matching) clothes, and I would have struggled to find papers to coordinate, so using a black and white images and these gorgeous SEI papers was the ideal solution!
I sometimes like to set myself a challenge to produce a layout using only scraps and off-cuts from other projects. My favourite example of layouts done like this is this one, where I went to town and tried to use as many different patterned papers as possible, all very pink and girly!
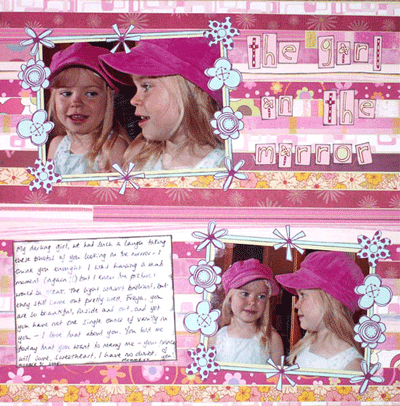 The different strips of patterned paper were all stuck onto a cardstock background, and the end result looks like one crazy, pink, floral piece of patterned loveliness!! I almost never throw anything away, and have a scraps basket that is overflowing. As well as using the scraps for layouts, I almost always find a suitable off-cut for any card-making project.
And lastly for today, sometimes you just want a riot of colour on your page, and one of the best ways to achieve that is again by mixing lots of contrasting pieces of patterned paper. The layout below was my audition piece for the UKScrappers 'Scrappers' Block' competition in June 2005, and, whilst I wasn't sure whether or not it was any good, I was fairly sure it would stand out, either in a good way, or a really bad way :D
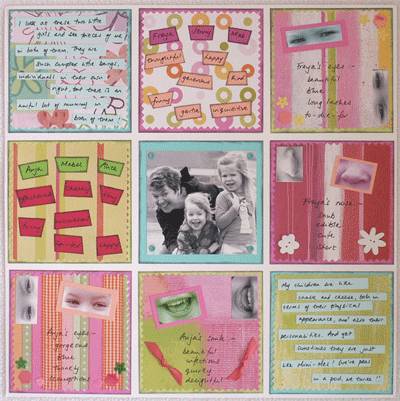 All the papers are different, but they do tone in with each other, and the cardstock is matched to the papers. I like the finished result, and, at the end of the day, scrapping should be about what YOU like - the layouts are for your albums, and you should scrap to suit you.
That's all for today - wishing you all a pleasant weekend, and, for those of you, like me, who have children starting back at school next week, try not to stress out too much when you can't find book bags/library books/PE kit/school ties - will be thinking of you all as I hunt through the ironing pile!!!
xxx



 I love the texture and colours he's used.


 I know it looks like a pic of my bum, but really it isn't lol
 I sewed the new back seam and used


