
As Christmas fast approaches, I start to get all the decorations out and sorted ready to go up on the first Saturday of December. Which by the way is in 7 days time!!!!!
I love to have some sort of decoration on my front door and in the past it has been a small token out of my tree decoration box.
But this year I wanted something a little bigger and of course I had to down the 'do it myself' route too!!
I found a plain wreath in a sale held at work (but you can buy them in stores like HobbyCraft).
The cute little pine cone clusters were found on a tree in the countryside around my home. These were dead easy to attach.
The holly decorations I bought in HobbyCraft, I went with two different kinds.
And the little birdies I made myself.
 And a couple of close ups.


And Di has also been busy, inspired by Trish's rag wreath. "I cut a ring from thick cardboard using a dinner plate as the template. Then just tied on strips of fabric, red felt and green ribbon."
 Then I used some left over 'tartan' fat quarters and calico for a more traditional look!
 Thanks for visiting
 haPPy creATing
Caz
xx
PS
A bit of news!!
We will be off line on Friday the 30th November for our move over to typepad!!
Please be sure to pop back on Saturday the 1st December for the link to our new home.
And to celebrate the move we will be offering a lucky dipper prize for comments left on the new blog all day Saturday.
Don't miss it!!


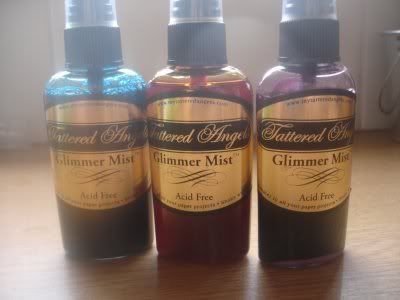 I have 3
 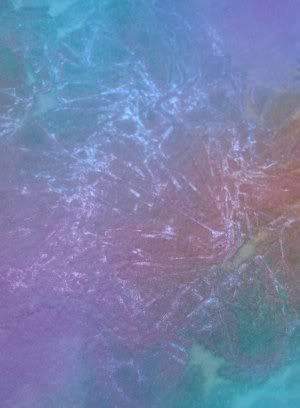 These would make great backgrounds for cards.
Next I tried a resist technique by
These would make great backgrounds for cards.
Next I tried a resist technique by 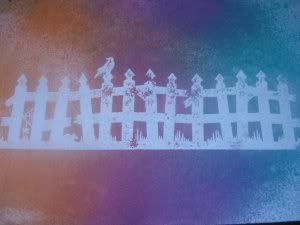 I then sprayed a variety of surfaces to see how well it works on them. First I used a
 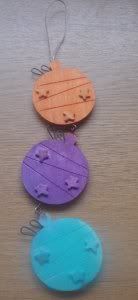 I also used a paper
 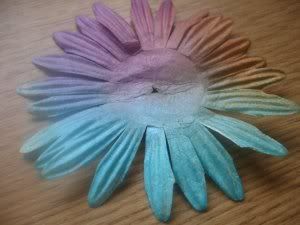 I then tried Model Magic, which is a
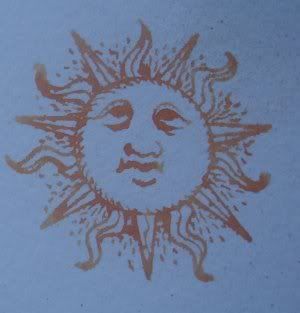
 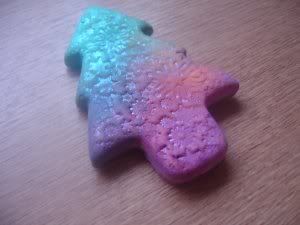 Finally, I used the colour mists to try the “
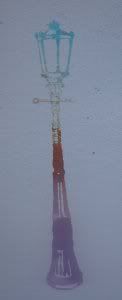
 A word of warning though, this does stain the wood on wooden stamps, so if you are concerned about this, you could just use unmounted ones. Now I have 4 beautifully coloured wooden blocks! :)
I hope that this will encourage you to do some more
A word of warning though, this does stain the wood on wooden stamps, so if you are concerned about this, you could just use unmounted ones. Now I have 4 beautifully coloured wooden blocks! :)
I hope that this will encourage you to do some more .JPG)
.JPG)
.JPG)
.JPG)
.jpg)
.jpg)
.jpg)
.JPG)
.JPG)


