Saturday, September 08, 2007
Memories of......
Friday, September 07, 2007
Beauty in Layers
This added another layer... At this point, I also glued tulle over parts of the paper.
And these painted tyvek beads?

These pieces were glued randomly into the tissue paper collage. (It's always great to keep extra pieces/embellishments for projects like this one.)
Thursday, September 06, 2007
Christmas in September!
Step 2
Glue onto your card just off centre.
Adhere a paper frill, length of ric rac or similar along the straight edge of your spotty paper, ink around the edges of your card using charcoal chalk ink.
Use a thin sticker strip to decorate the paperfrill, you could leave it plain or doodle along the edges if you prefer.
Take a piece of white card, trim it to fit your sticker and attach the sticker firmly to the centre.
Use a fine black pen to doodle around the white card and ink the edges with charcoal chalk ink.
Attach the Santa image to the card using foam pads to give added dimension.
Tie red gingham ribbon around the fold of the card.
(Pixie Press holly paper, Costco red spotty paper, MAMBI stickers, Doodlebug paperfrills)
Happy Cardmaking
Love Andrea x
Wednesday, September 05, 2007
Loveliness to buy online!
Tuesday, September 04, 2007
Helping young children to draw
Oakey doakey, onto the reason for todays post. All children love creating but it can be difficult for them to draw something recognisable. Amelia our youngest daughter would get very frustrated and a session with paper and pencils would often result in lots of screwed up *rejects* and a very unhappy girlie.
Then I discovered the I can draw series of books published by Usborne. They break the technique of drawing down into easy pieces anyone can follow. Even my artistically challenged husband managed some animals you could recognise.
We started with the I can draw people and animals books written by Ray Gibson. They are so easy to follow that anyone can be drawing something recognisable within a few minutes. I’ve enlisted the help of my girlie wirlies to show you just how easy it is to draw a fish. There are four stages to follow.
1. Draw an egg shaped body
2. Add the mouth and an eye
3. Crayon some patterns on the body
4. Crayon a tail and two fins
I am so sorry for the quality of the piccie but this is all I have. Luckily, I scanned this one the other day or I would have been left with nothing. I am kicking myself as the girlie wirlies have drawn some fab piccies for me to share. Still, it's a good excuse to go shopping and we do love a good shoppie shop.
Toodle pip
Monday, September 03, 2007
"My Life has been a Tapestry...."
Lets start with a little bit of something from the past:
"My life has been a tapestry of rich and royal hue.
An everlasting vision of the ever-changing view"
From Carole King "Tapestry" 1971, yes a looooong long time ago!
Ok, I have to remind you that I am NOT an artist but I do have have my own simple and naive style. I decided to do a story of my life in Cape Town. I bought a large piece of canvas, loads of tapestry wool and just started at the top and worked my way to the bottom.
Every now and again I drew a shape that I wanted to stitch, but it was 90% free style. The story ended when my dear dad died so I included the St Andrews Cross in the bottom corner, and a representation of all of his dear friends and family.
Then I started another story - my view of Cape Town from the glorious Table Mountain, through the city and harbour across the water to the golf course. And if you look carefully you will see me sinking a putt!!!
Sunday, September 02, 2007
And the winner is
Blackberry picking on a Sunday!
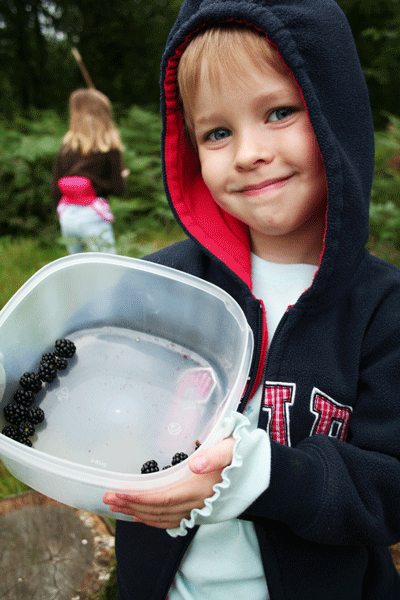
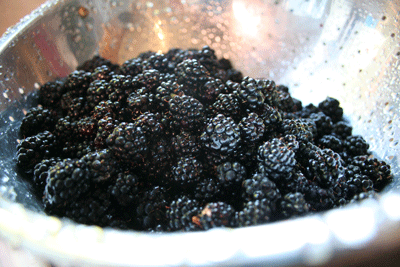
It's that time of year, just as the first signs of Autumn start to show, and the children go back to school for the new term, and the hedgerows are heavy with an abundance of blackberries. We went blackberry picking on Friday, a lovely way to round off the school holidays, and had no difficulty in filling our tupperware container. One of my many jobs for today, therefore, is to turn these shiny black berries into something delicious! With this in mind, I have trawled the internet for some suitable recipes, and I thought I'd share them with you.
The first one is a super Bramley apple and blackberry crumble - I LOVE crumble, and I think that of all the things you can do with a blackberry, it's probably one of the best!! The recipe is here on the BBC food site. Also from the BBC site, recipes for blackberry and lemon fool, pear and blackberry upsidedown pudding, and blackberry brulee. From allrecipes.com the rather delicious-sounding blackberry chocolate chip pie, blackberry cobbler, and blackberry and blueberry pie. And finally, from the UKTVFood site, blackberry swirl cheesecake, vanilla and blackberry tart, and delightful mini pavlovas.
So, if the weather's fine where you are, why not have a little meander out into the sunshine, and plunder the hedgerows! I'm off into the kitchen to cook up some treats with this little lot! Happy Sunday!

The final countdown

We have *Thunder* by Harvey age 2
For our last masterpiece I need to direct you to Richard's blog. Richard is 11 and home educated. Click on *enjoy* to view his summer project.
The winner of the £20.00 voucher will be announced later on today. I just need to track down a photogenic child to do it for us ........ Just kidding Charlotte and Amelia!!!
The girls here at It's a creative world really hope that you have enjoyed our creative children campaign.
Toodle pip
Saturday, September 01, 2007
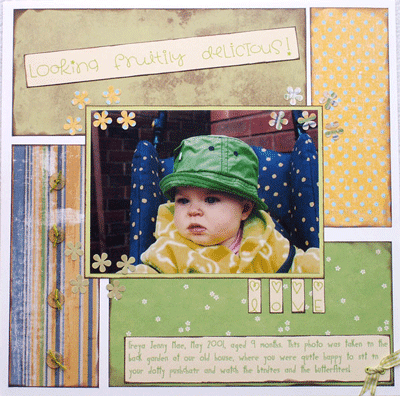
A riot of colour! Mixing patterned papers, scrapping with colour.
In this photo, as you can see, there is a mix of blue, yellow and green, in addition to the pink baby ;), and I felt that the best way to bring out these colours, without losing the photo, was to use a combination of patterned papers in a simple design so that the photo took centre stage, and the colours in the paper complemented the colours in the photo.
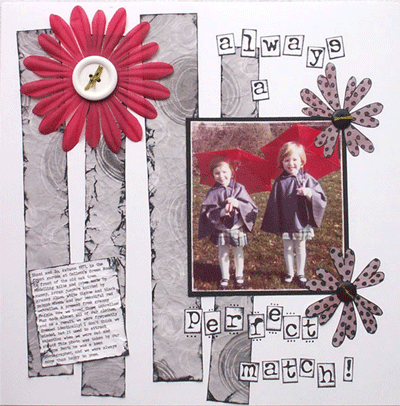
I sometimes find that I have photos I really want to scrap, and no papers that immediately stand out as being a good match; in these cases, I like to use black and white papers, with embellishments that tone with the colours in the photograph, as with this layout:
This photo of my sister and I in our matching 70's kilts and capes, with bright red umbrellas, didn't lend itself to the use of highly patterned or very vivid papers, so I used the Blonde Moments black, white and grey papers, and matched my large blossom with the umbrellas.
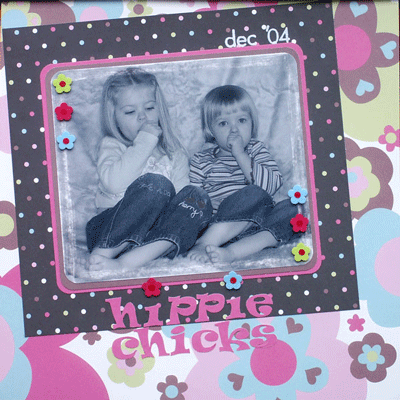
Sometimes, I have a particular patterned paper line that I'm desperate to use because it's so pretty that I want to paper my bedroom walls with it, but I don't have any photos that will really 'go' - in this case, a simple solution is to find a photo you like that you're happy to convert to black and white (I use Photoshop, but I think there are various programs that will do this) and, hey presto, you can use pretty much any patterned paper you like!
This photo of my daughters was very 'busy' as they were both wearing brightly coloured (though not matching) clothes, and I would have struggled to find papers to coordinate, so using a black and white images and these gorgeous SEI papers was the ideal solution!
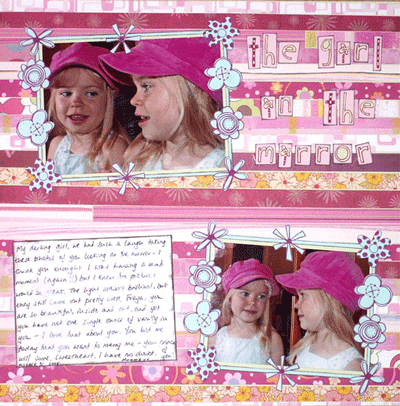
I sometimes like to set myself a challenge to produce a layout using only scraps and off-cuts from other projects. My favourite example of layouts done like this is this one, where I went to town and tried to use as many different patterned papers as possible, all very pink and girly!
The different strips of patterned paper were all stuck onto a cardstock background, and the end result looks like one crazy, pink, floral piece of patterned loveliness!! I almost never throw anything away, and have a scraps basket that is overflowing. As well as using the scraps for layouts, I almost always find a suitable off-cut for any card-making project.
And lastly for today, sometimes you just want a riot of colour on your page, and one of the best ways to achieve that is again by mixing lots of contrasting pieces of patterned paper. The layout below was my audition piece for the UKScrappers 'Scrappers' Block' competition in June 2005, and, whilst I wasn't sure whether or not it was any good, I was fairly sure it would stand out, either in a good way, or a really bad way :D
All the papers are different, but they do tone in with each other, and the cardstock is matched to the papers. I like the finished result, and, at the end of the day, scrapping should be about what YOU like - the layouts are for your albums, and you should scrap to suit you.
That's all for today - wishing you all a pleasant weekend, and, for those of you, like me, who have children starting back at school next week, try not to stress out too much when you can't find book bags/library books/PE kit/school ties - will be thinking of you all as I hunt through the ironing pile!!!
xxxFriday, August 31, 2007
Little altered pieces

Next, I threw a bit of shrink plastic in (which of course, shrunk), and repeated the same process.

Finally, a added a seashell. This would be gorgeous in a carved window in an altered book. 
I hope this helps you find some mojo for some fantastic messy play!
xxxx Joy


This heart made a