Good morning!!
It's a Caz here with a scrapping class and a side to scrapping that I find very important :)
I started scrapping in 2003 and not having had all my childhood photos scrapped, it is something that I am doing along with photos of my parents as children and the photos that I take now.
Often there is no story behind an old photograph, it's random.
BUT every now and again you will look at a photograph and memories will flood your mind, and this can often relate to the 'other things' in the photo!
In the photograph on the LO below, I am sitting on the grass, holding my poor dog around the neck with a patio suite in the background. Now I have no idea why this photo was taken, what date it was taken and who it was taken by, but what I do know is........
Memories flood my mind when I look at this photograph. That outside table and chair unit was so uncomfortable, the chairs where a silly angle so when you sat, it was like sitting downhill - backwards! And if you did not have a seat cover on, you got a waffle pattern on your butt, lol!!Tiger, who I am holding around the neck, came to live with us from grandma and grandpa. He was old and not so playful but I loved him and evidently he didn't mind having a cuddle!
At the time we lived in a house with yellow garage doors, a large garden, and a swimming pool. I remember it so clearly even though we left there over 25 years ago.

The second LO is slightly different. I actually went out and took this photo to go with a memory, that I have no photographs for.
Way back in 1986 when we lived in Kloof dad decided to keep chickens! He built them a really cool coop with a sheltered bit at the back for them to sleep and lay eggs in. Occasionally we would let them out to walk about the garden and surprisingly the cats, of which we had 6, never bothered with thm. Maybe one day we can have some again!!
When I found out one of our neighbours had chickens it triggered the memory and I knew it was something I had to document :)

Sometimes when a photograph seems to have no place in any of your albums, take a look at the surroundings and stop focusing on the subject. You may just find some memories tucked away!!
Thanks as always for visiting It's a Creative World, and a big TOOT TOOT from me to the rest of the design team for the continued inspiration :)
haPPy creATing :)
Caz
xx



 Step 4: Add your mosaic tiles or other embellishments to the edge of the canvas.


 Cut your cardstock to 15cm x 22 cm and fold in half for a landscape card. Cut two strips of the patterned paper 5 1/2cm x 15cm and cut a smaller strip to go across the middle. Ink the edge of the smaller, middle strip for a little definition. Arrange on your card like so:


 I hope you liked this card and have fun making it.


 Now, I just need to help them with their sewing and they can sew those Brownie badges on for themselves.




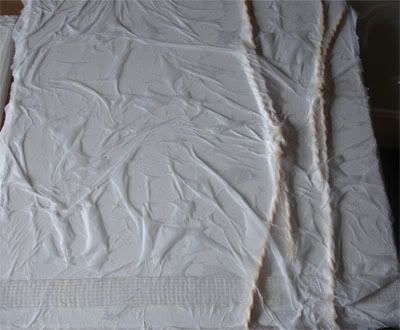 This was left to dry.
I then painted over this using Ranger's Paint daubers in denim and stream colours,
This was left to dry.
I then painted over this using Ranger's Paint daubers in denim and stream colours,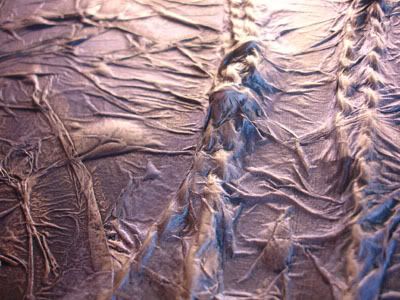 The finished canvas looks like this:
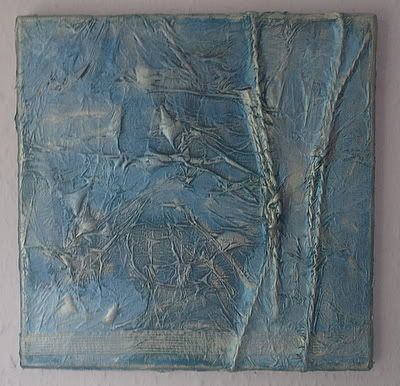 For the second canvas I used
 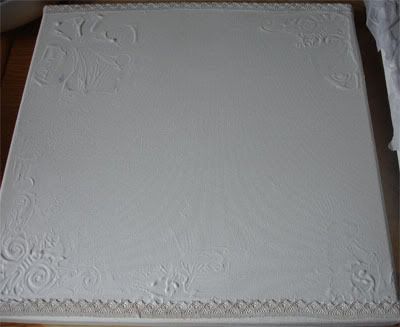 Leave this to dry overnight.
Again this was painted with Ranger Paint daubers in Cranberry, butterscotch and a tiny bit of stream. This was worked into the canvas,
Leave this to dry overnight.
Again this was painted with Ranger Paint daubers in Cranberry, butterscotch and a tiny bit of stream. This was worked into the canvas, 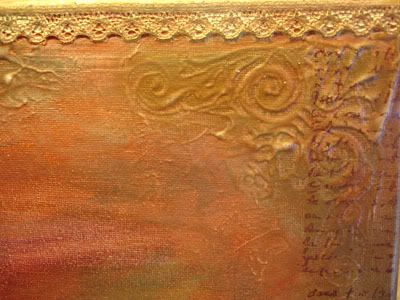 Once this was dry it was highlighted with red and gold interference medium by Daler-Rowney.
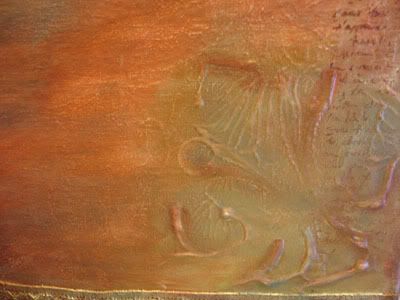 The stamped areas were then highlighted with metallic rub ons in green, gold and red.
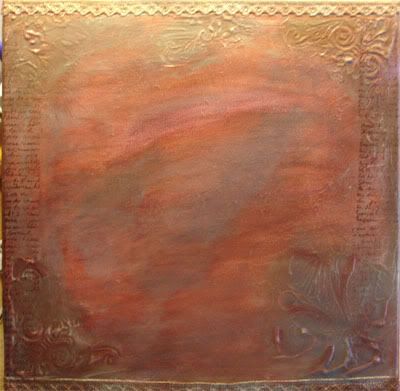 This is the main technique for the backgrounds. I was happy with the first
as it was, it didn't need anything else added to it. The second canvas had a large area in the middle that needed something, so I did an
This is the main technique for the backgrounds. I was happy with the first
as it was, it didn't need anything else added to it. The second canvas had a large area in the middle that needed something, so I did an 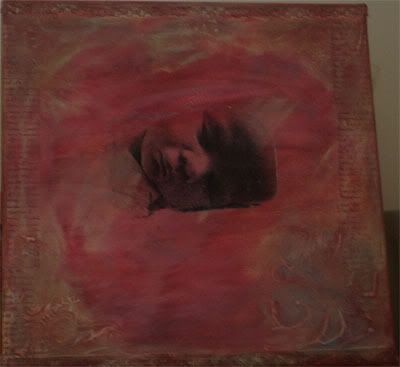 These techniques are really simple and easy to do and give great effects, they would even work on book covers and many other surfaces.
~angela~
These techniques are really simple and easy to do and give great effects, they would even work on book covers and many other surfaces.
~angela~ 